-
Sponge Cake:
-
4 eggs
-
100 g sugar
-
120 g flour
-
-
Frosting:
-
250 g mascarpone
-
2 large spoons of Nutella
-
A little rum (optional, if not making for children)
-
-
Coating:
-
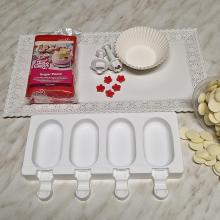
Candy melts, Deco melts, or chocolate for coating (about 300 g)
-
-
Sprinkles or other decorations (optional)
Instructions:
1. Prepare the Cake Mixture:
-
Make the Sponge Cake:
- Preheat your oven to 180°C (350°F).
- Separate the egg whites from the yolks.
- Beat the egg whites with half of the sugar until stiff peaks form.
- In a separate bowl, beat the remaining sugar with the egg yolks until they are pale and fluffy.
- Gently fold the beaten egg yolks into the egg whites.
- Gradually and gently fold in the flour, mixing just until combined.
- Pour the batter into a greased baking pan and bake for about 30 minutes, or until a toothpick inserted into the center comes out clean.
- Allow the cake to cool completely.
-
Crumble the Sponge Cake:
- Once the cake is cooled, crumble it into fine crumbs using your hands or a food processor.
-
Prepare the Cake Mixture:
- In a bowl, combine the mascarpone and Nutella. Mix well until smooth.
- Add the mascarpone-Nutella mixture to the cake crumbs. Mix thoroughly until the mixture reaches a dough-like consistency. If the mixture is too dry, adjust by adding more mascarpone or Nutella as needed.
- For an adult version, add a little rum to taste.
- Refrigerate the mixture overnight to allow the flavors to meld and the mixture to firm up.
2. Mold the Cakesicles:
-
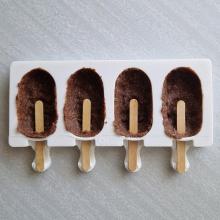
Prepare the Molds:
- Fill each cakesicle mold halfway with the cake mixture.
- Insert a popsicle stick into each mold.
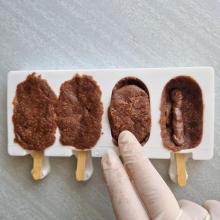
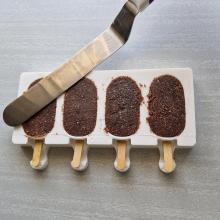
- Fill the molds to the top with the remaining cake mixture, ensuring the stick remains centered.
-
Chill the Molds:
- Place the filled molds in the refrigerator for about 1-2 hours or in the freezer for 20-30 minutes until the mixture is firm enough to hold its shape.
3. Coat the Cakesicles:
-
Melt the Coating:
- Place the candy melts or chocolate in a microwave-safe bowl.
- Microwave in 30-second intervals, stirring between each interval, until completely melted and smooth. If the coating is too thick, add a teaspoon of vegetable oil or shortening to thin it out.
-
Dip the Cakesicles:
- Carefully remove the cakesicles from the molds.
- Dip each cakesicle into the melted coating, ensuring it is fully covered.
- Gently tap off any excess coating.
-
Set the Coating:
- Place the coated cakesicles on a parchment-lined baking sheet.
- Allow the coating to harden completely, which may take about 20-30 minutes in the refrigerator.
4. Decorate the Cakesicles:
-
Decorate as Desired:
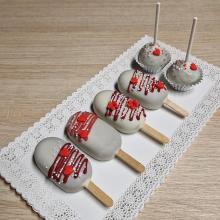
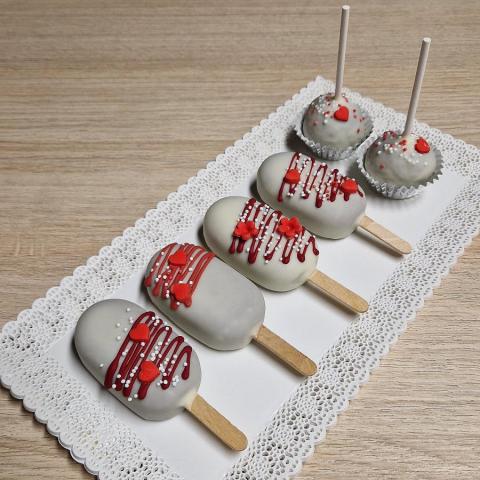
- Drizzle additional melted chocolate over the cakesicles.
- Add sprinkles or other edible decorations while the drizzle is still wet.
- Use other creative edible decorations to personalize your cakesicles.
-
Let Set:
- Allow any added decorations to set completely before handling.
5. Storage:
- Store Properly:
- Place the cakesicles in an airtight container.
- Store them in the refrigerator for up to a week.
- For longer storage, you can freeze the cakesicles. Thaw in the refrigerator before serving.
Enjoy:
Making cakesicles is a delightful experience, perfect for sharing with family and friends. Enjoy the process and the delicious results of your homemade cakesicles!
