Materials Needed
- Fondant or gum paste: Choose your preferred medium; gum paste dries harder and faster than fondant.
- Rolling pin: Preferably a non-stick rolling pin to roll out the fondant or gum paste.
- Cornstarch or powdered sugar: To prevent sticking while rolling out the fondant or gum paste.
- Sharp knife or fondant cutter: A small, sharp knife or specialized fondant cutter for precise cutting.
- Cutting mat or clean surface: A food-safe cutting mat or clean surface to work on.
- Templates or stencils: Optional, for creating specific shapes or designs.
- Edible markers or gel food coloring and brushes: For adding details and decorations.
- Piping gel or edible glue: To attach the cut-outs to the cake.
- Small rolling pin or fondant smoother: To smooth out the fondant or gum paste after rolling.
Step-by-Step Instructions
1. Prepare the Fondant or Gum Paste
- Knead the fondant or gum paste: Knead until it's soft and pliable. This will make it easier to roll out and work with. If it’s too stiff, you can microwave it for a few seconds to soften it, but be careful not to overheat it.
2. Roll Out the Fondant or Gum Paste
- Dust your surface and rolling pin: Lightly dust with cornstarch or powdered sugar to prevent sticking. A silicone mat can also be used to prevent sticking.
- Roll out the fondant or gum paste: Roll to an even thickness, typically about 1/8 inch (3-4 mm) thick. For more precise thickness, you can use rolling pin guides or thickness rings.
3. Create or Use a Template
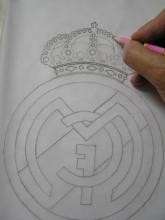
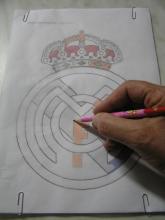
- Draw or print your design: Create a paper template of your desired shape or design. For simple shapes, you can use cookie cutters.
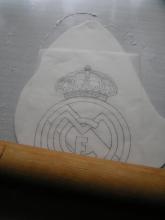
- Place the template: Position your paper template on top of the rolled-out fondant or gum paste. If using cookie cutters, place them directly on the rolled-out fondant.
4. Cut Out the Shapes
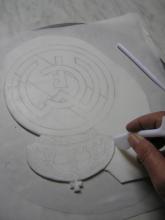
- Cut around the template: Use a sharp knife or fondant cutter to cut around the template. Make sure the cuts are clean and precise. If using cookie cutters, press firmly to cut out the shapes.
- Remove excess fondant or gum paste: Carefully lift away the excess fondant or gum paste, leaving your cut-out shape on the mat.
5. Add Details
- Use edible markers: For fine details like facial features or small patterns, use edible markers directly on the cut-out.
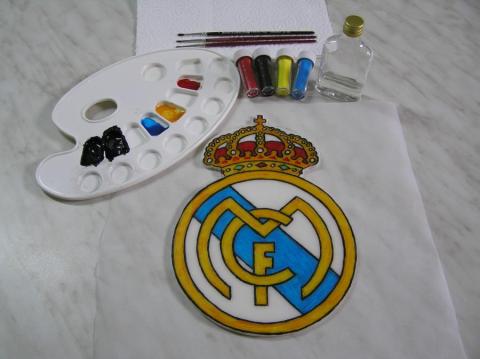
- Mix gel food coloring: Combine gel food coloring with a little vodka or lemon extract to create edible paint. This will dry quickly and won't make the fondant or gum paste too wet.
- Paint details: Use fine brushes to paint details on the cut-outs. Allow each layer of paint to dry before adding another to avoid smudging.
- Add texture: If desired, use embossing tools or stamps to add texture to the cut-outs.
6. Allow the Cut-Outs to Dry
- Transfer the cut-outs: Carefully move the cut-outs to a flat surface lined with parchment paper. A small offset spatula can help transfer the pieces without distorting them.
- Let them dry: Allow them to dry for several hours or overnight. This helps them firm up, making them easier to handle and less likely to deform when placed on the cake.
7. Attach the Cut-Outs to the Cake
- Use piping gel or edible glue: Apply a small amount to the back of the cut-out using a clean brush or your finger.
- Attach to the cake: Gently press the cut-out onto the cake. Hold it in place for a few seconds to ensure it adheres properly. If the cake is covered in buttercream, you may not need additional adhesive.
Tips
- Work quickly: Fondant and gum paste dry out quickly. Keep unused portions wrapped in plastic wrap or stored in an airtight container while you work.
- Food-safe gloves: Wear gloves when working with dark colors to avoid staining your hands.
- Practice: Practice cutting and detailing on small pieces of fondant or gum paste before working on your final pieces to get a feel for the tools and materials.
- Use a damp cloth: Keep a damp cloth nearby to wipe your hands and tools clean as needed.
By following these detailed steps, you'll be able to create professional-looking 2D cut-outs for your cakes, adding a unique and personal touch to your creations.
